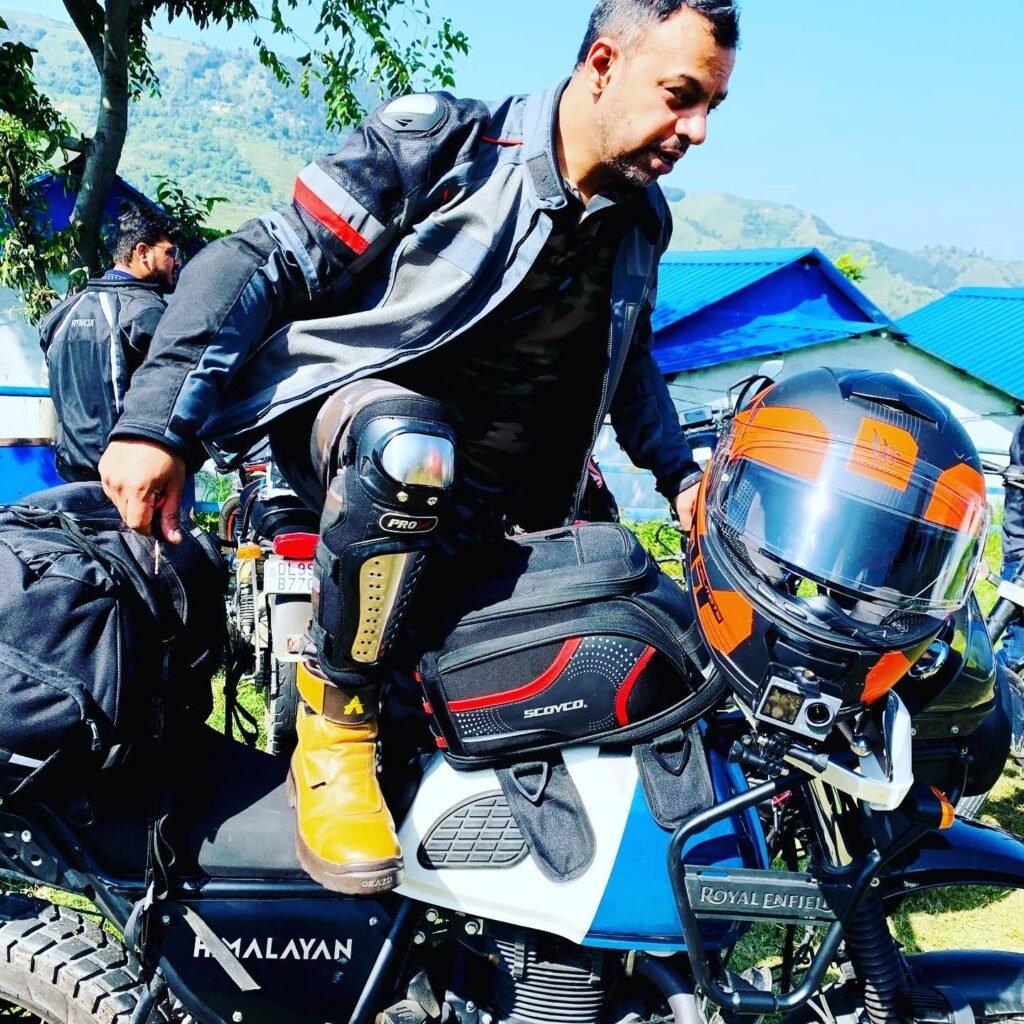
Master the machine before you master the miles.
Whether you have recently secured your learner’s license or are transitioning from the stable platform of a car or the twist-and-go simplicity of a scooter, mastering basic controls and handling techniques is the essential foundation for a safe, confident, and enjoyable riding career.
Building the Foundation: Beyond the Basics
Transitioning to a motorcycle involves a significant shift in cognitive load. Unlike a car, where balance is a given, or a scooter, where the engine sits low and the gears are automatic, a motorcycle requires four-limb coordination. Your right hand manages the front brake and throttle, your left hand operates the clutch, your right foot controls the rear brake, and your left foot clicks through the gears. Synchronizing these movements—often called “muscle memory”—is what separates a frustrated beginner from a fluid rider.
Understanding the Friction Zone One of the most critical hurdles for new riders is the clutch’s “friction zone.” This is the area where the engine’s power begins to transfer to the rear wheel. Learning to hover in this zone allows for smooth take-offs and low-speed maneuvers, preventing the dreaded “stall-and-drop” that many beginners face in traffic.
Body Position and Weight Distribution Handling isn’t just about the handlebars; it’s about your entire body. Proper technique involves gripping the tank with your knees to stabilize your core, which frees your arms to stay loose and relaxed. This “light touch” on the bars is vital for avoiding speed wobbles and ensuring the bike can self-correct over bumps.
The Philosophy of Progressive Learning Safety is not a destination but a continuous practice of situational awareness and technical refinement. By investing time in a closed parking lot to practice emergency braking and tight U-turns before hitting the open road, you transform from a person “holding on to a machine” into a rider who is “one with the bike.” This foundational work ensures that when you finally face the unpredictable nature of traffic, your reactions are instinctive rather than panicked.
Part 1: Essential Motorcycle Controls
1. Throttle (Right Handlebar)
The throttle, located on the right handlebar, is your primary tool for regulating engine power and ground speed. To operate it effectively, you must employ a “progressive” touch: rotate the grip gently toward your body to accelerate, and roll it back forward with equal deliberation to slow down. Maintaining a relaxed, loose grip is vital; beginners often instinctively tighten their hold during stressful moments, which can lead to accidental “whiskey throttle” (unintended over-acceleration) and loss of control.
The “Screwdriver” Grip vs. The “Monkey Bar” Grip
- Many new riders hold the throttle like a monkey bar—clutching it with the palm and all fingers wrapped tight. Instead, try the “Screwdriver Grip.” Hold the throttle slightly diagonally, as if you are turning a screwdriver. This ergonomic position allows for finer micro-adjustments and ensures your wrist doesn’t get “locked” at an awkward angle when you are deep into the throttle’s rotation.
Managing the “Friction Zone” and Slack
- Every throttle has a small amount of “free play” or slack (usually 2–3 mm) before the engine actually responds. Learning to feel for this engagement point prevents jerky starts.
- Deceleration: Never “snap” the throttle shut. Chopping the power abruptly can settle the front suspension too quickly, making the bike unstable, especially mid-corner.
- The One-Finger Technique: Some advanced riders keep one finger resting lightly on the brake lever while operating the throttle. This creates a “yin and yang” balance, providing a physical reference point that helps stabilize your wrist for smoother rolling movements.
Body Position and the Throttle
- If you find yourself “hanging” onto the handlebars for support, you are doing it wrong. Your weight should be supported by your core and by gripping the fuel tank with your knees. If your arms are supporting your body weight, every bump in the road will travel through your stiff arms and cause the throttle to “blip” unintentionally. Keep your elbows slightly bent and your wrists level with the handlebar to ensure the bike remains stable.
2. Clutch Lever (Left Handlebar)
The clutch lever disconnects the engine’s power from the rear wheel, allowing you to change gears or come to a stop without stalling. Pull the lever fully to shift, and release it with a smooth, gradual motion to get the bike moving.
The “Friction Zone” Mastery
The most critical skill is mastering the Friction Zone—the small window in the lever’s travel where the bike just begins to move.
- Smooth Starts: Never “pop” (release suddenly) the lever. Hold it briefly in the friction zone as you add a little throttle to ensure a jerk-free takeoff.
- Low-Speed Control: In heavy traffic or tight turns, use the clutch—not just the throttle—to regulate your speed. Partially pulling the lever helps you crawl smoothly at walking speeds.
- Two-Finger vs. Four-Finger: Most beginners use four fingers for maximum leverage, but as you gain strength, using two fingers allows you to maintain a better grip on the handlebar while shifting.
Common Pitfalls
- Stalling: Usually caused by letting the clutch out too fast before the bike has enough momentum.
- Slipping: “Riding the clutch” (keeping it partially pulled while cruising) causes the plates to overheat and wear out prematurely.
3. Front Brake Lever (Right Handlebar)
Your front brake is your most vital safety tool, providing 70% of your stopping power. The key to using it is progressive pressure: squeeze gently to settle the bike, then increase pressure to stop. Never “grab” the lever abruptly, as this can cause the front wheel to lock and slide.
Key Handling Techniques
- The Progressive Squeeze: Imagine squeezing a sponge. A sudden jerk can cause a skid, but a smooth, firm squeeze allows the front tire to grip the road as the bike’s weight shifts forward.
- Finger Control: Use two or three fingers to pull the lever. This gives you plenty of braking force while allowing your remaining fingers to maintain a secure grip on the throttle.
- Weight Transfer: As you brake, the front forks compress. This “loads” the front tire, giving it more traction. If you grab the brake too fast before the weight shifts, the tire is more likely to lose grip.
Beginner Tip: The “Panic Grab”
In emergencies, beginners often clench their hands in fear. This “panic grab” is a leading cause of falls. Practice “emergency stops” in a parking lot to train your brain to squeeze firmly but smoothly even when you are startled.
4. Rear Brake Pedal (Right Foot)
Operated by your right foot, the rear brake provides the remaining 30–40% of your stopping power. It is best used for stabilizing the bike and low-speed maneuvering. Apply gentle, steady pressure; unlike a car brake, “stomping” on a motorcycle’s rear pedal can easily lock the back wheel, leading to a dangerous fishtail or skid.
When to Use the Rear Brake
While the front brake does the heavy lifting, the rear brake is your tool for finesse and balance:
- The Stabilizer: Using the rear brake at low speeds (like in traffic or tight U-turns) keeps the bike upright and prevents it from feeling “tippy.”
- Combined Braking: For maximum safety, use both brakes together. The rear brake helps “square” the bike, keeping it level while the front brake provides the raw stopping force.
- Low-Traction Situations: On gravel, sand, or wet roads, the rear brake is less likely to cause a catastrophic fall if it skids compared to the front brake. However, you must still remain extremely light with your foot.
Pro-Tip: Avoid the “Stomp”
Because your leg muscles are much stronger than your hand muscles, it is very easy to over-apply the rear brake. Most modern bikes have a small pedal—aim to press it with the ball of your foot, keeping your heel on the footpeg for better leverage and control. If the rear wheel locks up and starts to skid, stay calm and gradually release the pressure.
5. Gear Shift Lever (Left Foot)
The gear shift lever, located by your left foot, allows you to match the engine’s power to your road speed. Most motorcycles follow a “1 Down, 4–5 Up” pattern, with Neutral tucked between first and second gear. To shift, you must coordinate three movements: pull the clutch, click the lever, and smoothly release the clutch.
Understanding the Shift Pattern
Unlike a car’s “H-pattern” shifter, a motorcycle uses a sequential selector. You move through gears one by one in a specific order:
- The Pattern: From Neutral, you click down for 1st gear. To reach 2nd, 3rd, 4th, and 5th, you click the lever upward with the top of your boot.
- Finding Neutral: Neutral is a “half-click” between 1st and 2nd. If you are in 1st, a very gentle upward tap will find it. If you click too hard, you’ll skip Neutral and go straight into 2nd.
The 3-Step Shifting Process
For a smooth transition without jerking the bike:
- Clutch In: Pull the left lever fully to “disconnect” the engine.
- The Click: Use your left foot to click the gear lever firmly until you feel it engage.
- Smooth Release: Gradually let the clutch out (the “Friction Zone”) while gently rolling on the throttle.
Beginner Tip: Pre-Loading the Shifter
To make your shifts faster and smoother, you can “pre-load” the lever by placing very light upward pressure with your toe just before you pull the clutch. The moment you pull the clutch in, the bike will slip into the next gear almost instantly.
6. Kill Switch (Right Handlebar)
- Function: Quickly turns off the engine.
- How to Use: Use in emergencies or while parking. Don’t turn off while moving.
7. Ignition Key & Start Button
- Function: Turns the bike on/off and starts the engine.
- How to Use: Insert key, turn to ON, press the electric start.
8. Indicators, Horn, High/Low Beam (Left Handlebar Switches)
- Function: Used for signaling, honking, and adjusting light.
- How to Use: Always indicate your turn and dip lights for incoming traffic.
Part 2: Basic Handling Techniques
1. Mounting & Starting Off
- Always mount from the left side.
- Ensure the side stand is up.
- Start in neutral gear.
- Clutch in, gently release as you throttle to move.
2. Turning and Leaning
- Look where you want to go – your body and bike will follow.
- Initiate the lean by pushing the handlebar slightly in the opposite direction (countersteering).
- Keep arms relaxed and knees close to the tank for control.
3. Braking Properly
- Use both brakes together, especially at speed.
- Progressive braking: Gradual increase in brake pressure.
- Avoid locking wheels unless you have ABS.
- In emergencies: squeeze clutch in + apply both brakes evenly.
4. Shifting Gears Smoothly
- Learn your bike’s shift pattern (usually 1-N-2-3-4-5).
- Roll off the throttle → clutch in → shift gear → clutch out + throttle.
- Downshift before slowing down or stopping.
5. U-Turns and Low-Speed Balance
- Keep clutch partially pulled (friction zone) for control.
- Slight throttle + rear brake helps stability.
- Look over your shoulder in the turn direction.
- Don’t fixate on the ground!
6. Stopping and Parking
- Downshift to 1st or Neutral when stopping.
- Use side stand on level surface, center stand on uneven or long parkings.
- Don’t leave the handlebar turned outwards downhill.
- Always park motorcycle in ready to go position.
Pro Beginner Tips
| Tip | Why It Matters |
|---|---|
| Practice in empty lots like parks, parking spaces | Builds confidence in low-risk environment |
| Always gear up | Safety gear is non-negotiable, follow ATAG |
| Stay relaxed | Tense muscles make control harder |
| Don’t ride tired | Fatigue reduces reaction time |
| Learn clutch control | Most crucial for balance and starts |
| Practice motorcycle stalls | Important for situations when no one around |
We hope this information helped you understand the basic motorcycle techniques. For more guides related to travel and motorcycle rides. Go through our blog section and uncover further knowledge.

